
SILENT HILL: Townfall Combat & Stealth — Fighting, Hiding and Distractions
How combat and stealth work: CRTV threat checks, line of sight, hiding rules and the spotted-entry penalty, blocking, distractions, and the simple counter trophies.
Before an encounter
First person changes the default answer: the sources agree combat is the fallback, not the plan — the hands-on report calls it something to resort to “if you have no other choice”, and notes how quickly you can get overwhelmed. Before any encounter is forced on you:
- Know where the enemy is (CRTV, below).
- Decide: sneak past, distract, or — only if cornered — fight.
- Keep a melee weapon and healing stocked for the cornered case.
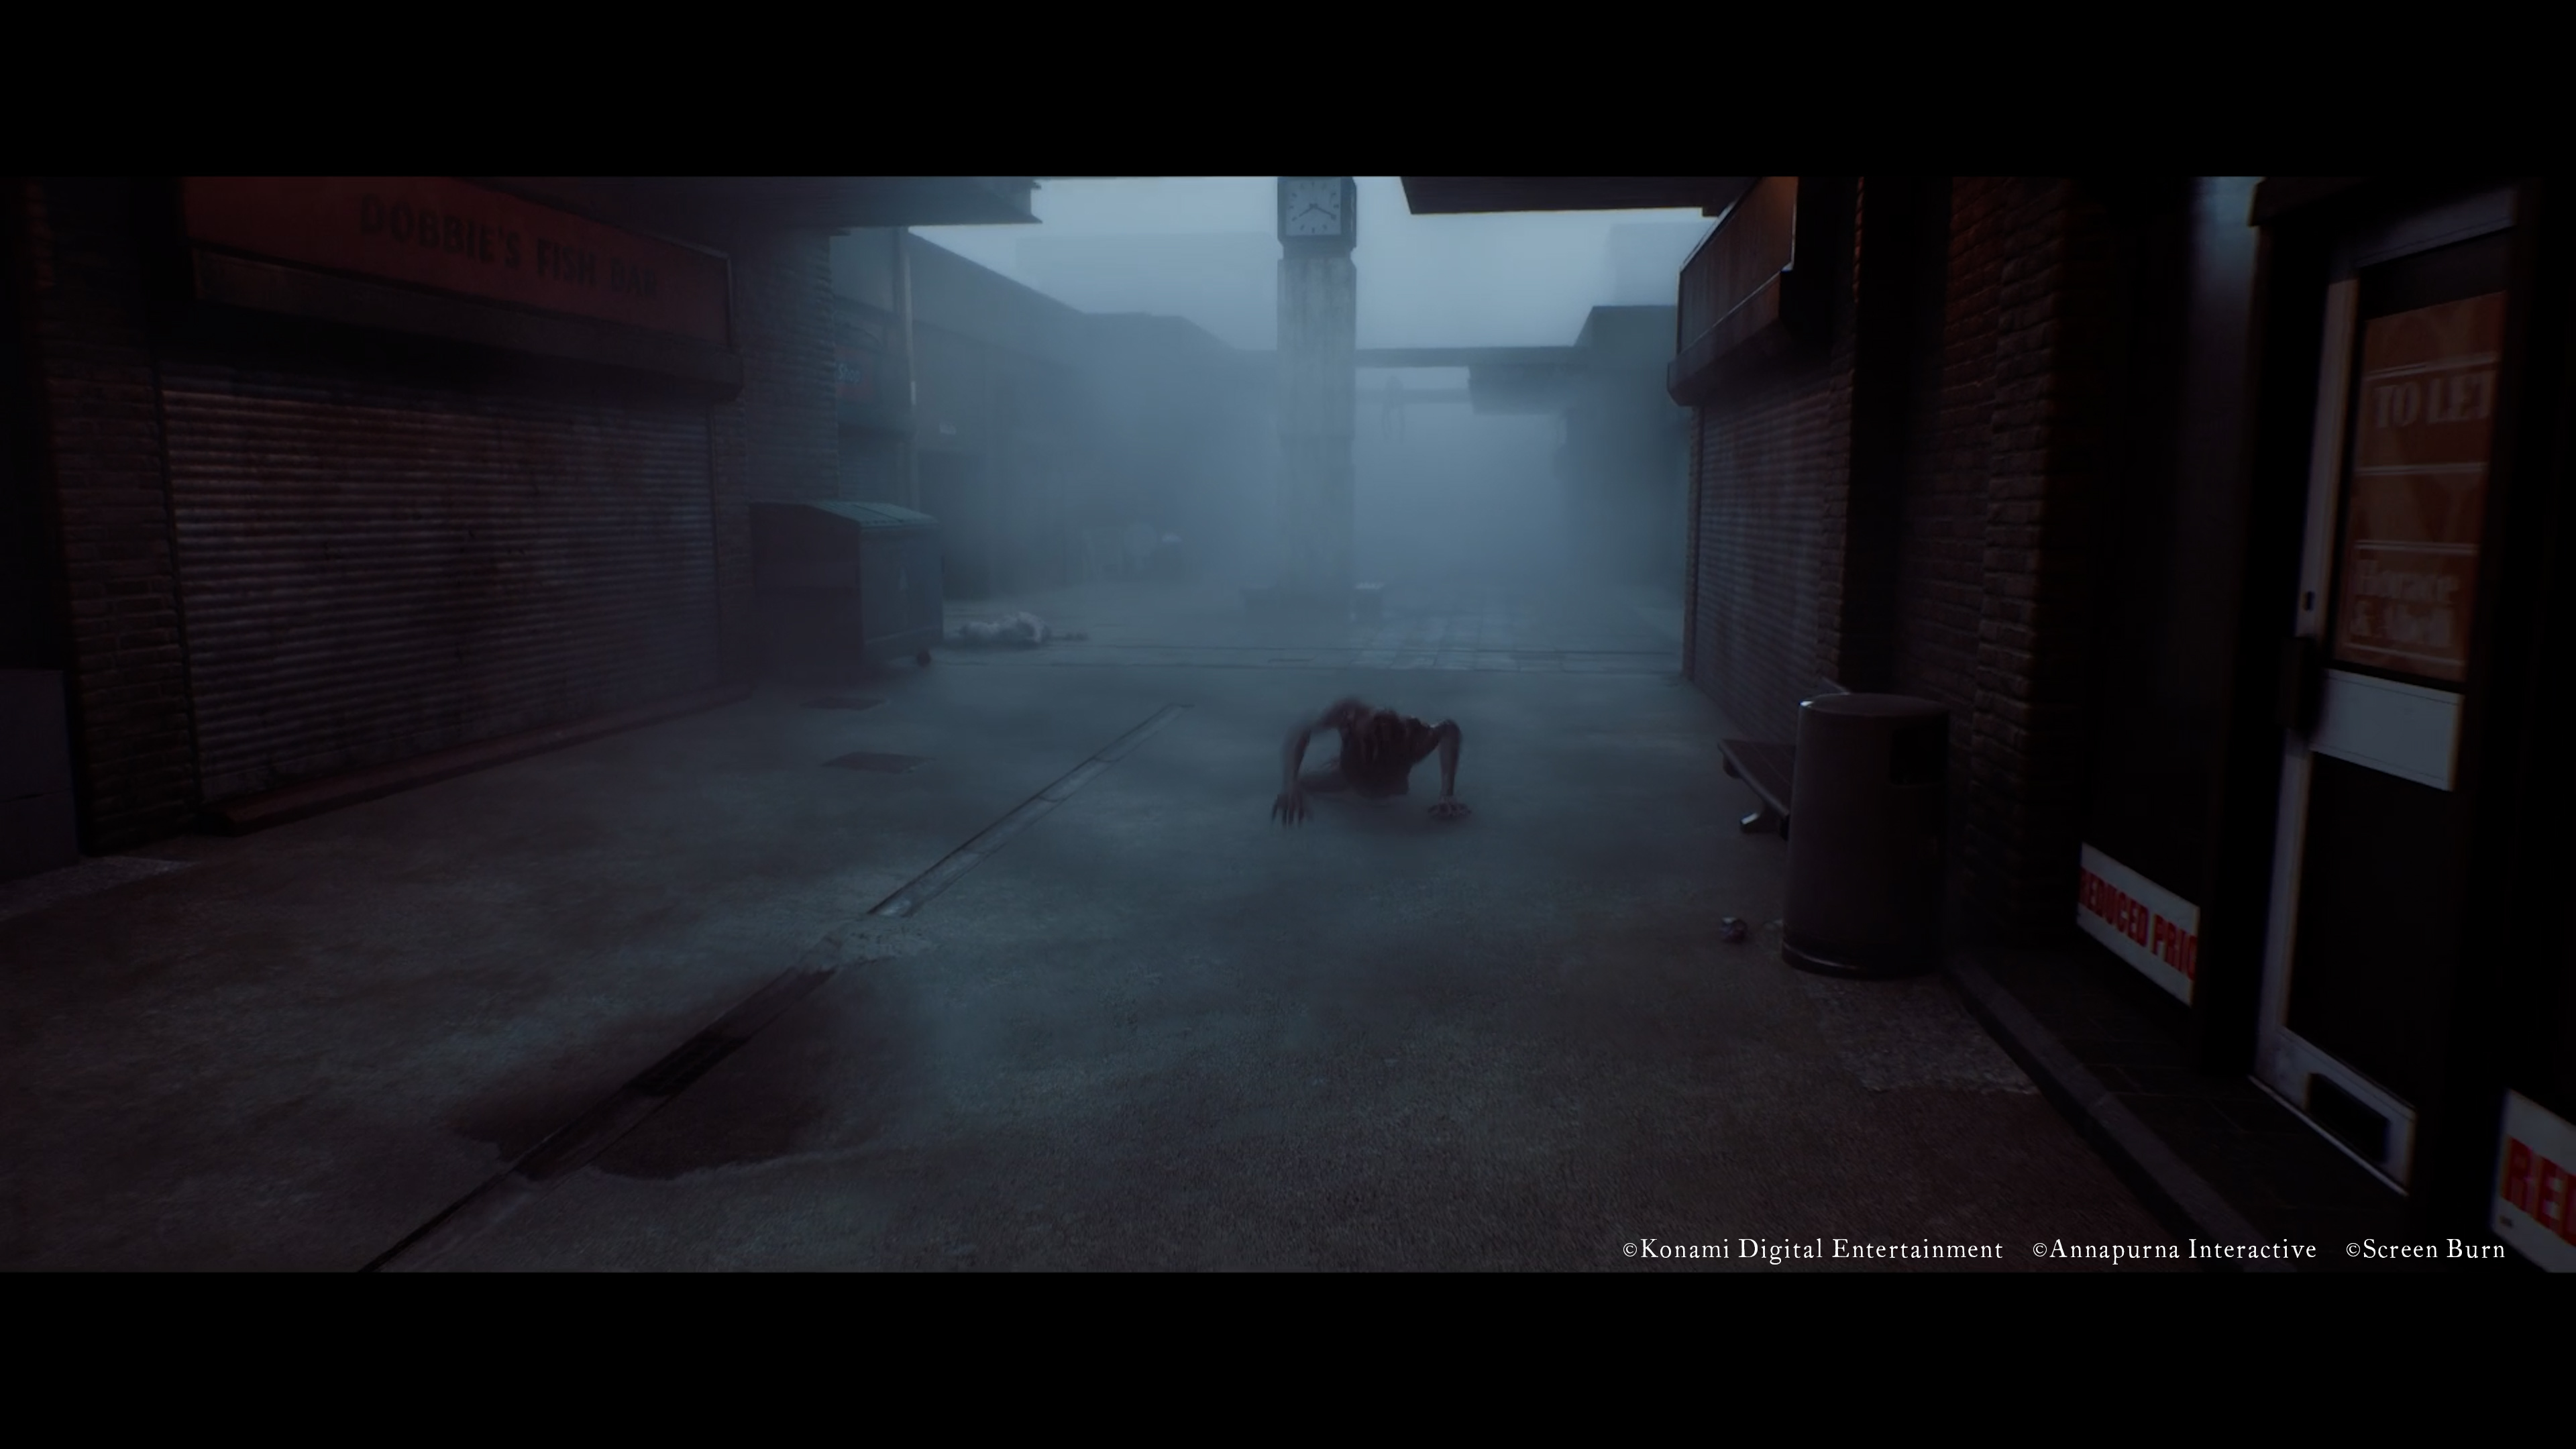
The official image shows a street encounter; it does not establish an enemy name or attack pattern.
Official promotional screenshot · Published
© Konami Digital Entertainment / Annapurna Interactive / Screen Burn
Using the CRTV to check threats
The CRTV is the stealth layer, not just a lore radio (official description):
- Tune frequencies to see the positions of nearby enemies through walls and fog.
- Hold it up while moving (the Sep article’s button: L1) — you see the display and the world at once.
- Haptic pulses warn you when a new enemy comes near.
- It works while hiding too — track the patrol without peeking.
Mechanics detail lives on the CRTV guide; this page only covers the combat/stealth use.
Blocking and creating an opening
Melee defense is a held object, not a parry meter: raise your weapon to block charges and swings, and react quickly after a blocked hit — that window is where your counterattacks land (Sep article). The hands-on report’s preview-build controls were hold L2 to block, R2 to strike; treat the button from the newer post as the retail-facing one and the preview mapping as historical.
Breaking line of sight
Enemies lose track of you when you break their line of sight — round a corner or duck behind something (official wording). Practically: break sight first, then change position. Losing sight is an escape opportunity, not a guarantee that the enemy stops searching or cannot follow. Ducking behind cover (fences, signs, parked cars) is the built-in low-profile move.
Hiding: conditions and limitations
You can slip into cabinets, closets and lockers and wait — even watching the patrol through the door crack or on the CRTV. The rule that matters:
If an enemy sees you slip into the hiding place, it will chase you down and pull you out.
So the sequence is always: break line of sight → then enter the hiding spot. An enemy that watched you climb in does not forget because a door is closed. And hiding is not a guaranteed safe state against a spotted entry — no source claims otherwise, so none is promised here.
Reliable examples, not an all-spots map
The Medical Centre’s altered-ward route uses closets around its patrol and valve sequence (Part 3). VGC’s release review also describes The Weight lingering outside lockers: entering unseen does not guarantee an immediate safe exit. Use the Weight guide for that distinction.
For Isolating Experience, remain in one hiding spot for 60 consecutive seconds; several short visits do not meet that condition. Pick a quiet moment after breaking sight. We have no complete screenshot or coordinate survey of hiding places, so this section does not claim every spot or a universally safe locker. Use the location index to find the relevant Part first.
Enemy quick reference
Names below are source labels, not an invented official bestiary. Responses are practical recommendations based on reported behavior; no health or attack-timing numbers have been measured by this site.
| Name / label and identification | Threat and useful response | Fight or avoid / goal | Relevant route and evidence |
|---|---|---|---|
| The Weight — heavy-backed stalker, named by release reviews | Lethal close contact; noise can create a short opening; a locker may leave you waiting beside its patrol | Avoid roaming encounters; reserve a diversion for the way out. Eraser belongs to the separate final fight | Survival guide; reviews + Part 6 route, source-checked |
| Widow — hooded figures carrying photographs, per VGC; “Widows” also appears in trophy wording | Loud approach and charge; watch the approach, make room, use the general block-and-counter tools only when fighting is your goal | Avoid when conserving resources; Missing The Point Entirely asks for 30 silenced Widows, cumulative across runs | Richard / CEG Tower; VGC description + PowerPyx trophy rule, source-checked |
| Ordinary melee pursuers — descriptive umbrella, not a formal enemy name | Official first-person coverage describes charges/swings, blocked attacks and unseen hiding | Break sight or distract first; fight for survival or a planned weapon challenge | General official mechanics, not a species-specific damage table |
Not catalogued as a separate species: “axe-headed” labels lack a sufficiently checked name, move set and location record in this review. An appearance label is not enough to publish a new enemy guide. No claim that Widows are harmless, cannot die or have a fixed per-run population is made here; the trophy’s “silence” wording alone proves none of those rules.
Spotted, trapped or caught again: plan the next move
This is a spoiler-light decision aid based on the PlayStation Blog’s line-of-sight guidance and VGC’s release encounters. It does not give a fixed patrol timer or a guaranteed safe hiding spot.
| What went wrong? | Next attempt |
|---|---|
| An enemy watched you enter a locker | Break sight before attempting another hiding place. Entering while watched lets it pull you out. |
| The enemy stays near your exit | Check for a real opening; waiting a set number of seconds is not proof that the route is clear. |
| A diversion draws it across your destination | Choose the destination first, then throw toward a different route. |
| You revive beside the same threat | Plan your escape before relying on the revive; it does not clear nearby enemies. |
| You lose track of the next room | Review the next objective before re-entering danger; the map is not a pause screen. |
VGC reports lingering enemies and immediate danger after revival. The retry suggestions above are our practical response to those observations, not a diagnosis of a confirmed AI bug. For the later encounter’s room sequence, open The Weight guide only if you want location and final-fight spoilers. Its existing footage covers the finale, not every possible pursuit route.
Distractions
Three distraction families, all tied to trophies whose full requirements live on the trophy hub:
| Tool | How it works | Related goal |
|---|---|---|
| World radios | Turn one on; enemies walk to the noise | Static Distractions — 10 total |
| Thrown bottles/bricks | Pull enemies to the impact point; also weapons when the target is softened | Lured Off Track — 20 total |
| Car alarms | Hit a normal car (melee or throw) to trigger the alarm | Alarmingly Effective — first use |
Plus one patience trophy: Isolating Experience — stay in a single hiding spot for 60 seconds. All four are simple counters or one-off actions, so they are anchored here instead of getting four separate pages.
When a weapon breaks
The preview build reported makeshift clubs surviving only “a couple of battles” — that is a preview observation, and no retail source we verified publishes a durability number or refill rate. The practical takeaway both official posts support: improviseds are consumable-adjacent, so carry a backup melee option and keep the firearms for the moments sneak-and-distract cannot solve. We do not state retail durability values because none exist in the verified sources.
Related goals and restrictions
- The distraction counters accumulate across playthroughs; the hiding goal needs one uninterrupted 60-second stay — the missables guide explains what does and does not carry over.
- Combat goals depend on the specific trophy; weapon-variety, for example, matters: Creative Process needs seven weapon types in one run — the weapons map lists where each enters.
- Ending planning can change your combat appetite (kills feed the ending balance — see the endings overview); there is no universal “never fight” rule that fits every plan, so decide per run.
Controls note (why no button table)
The two official posts disagree on one input: the July preview had peek on L1; the September article puts peek on R1 + right stick (with L1 as the CRTV raise). Later publication does not automatically prove the earlier post wrong — builds change, and one of the two may reflect a different context. Mechanics on this page are therefore described by action name (“hold the peek button and steer the stick”); confirm the exact bind in your own options menu, whose remapping support is covered on the controls & accessibility page.
What this page rests on
Two official PlayStation Blog posts (both read in full — the Sep 21 mechanics
piece and the Jul 29 preview report, whose preview-build figures are labeled
as such) plus the roadmap for the trophy counters. Official sources carry
official evidence; the page keeps a source-checked status because button
binds, retail durability values and AI specifics beyond the quoted statements
remain unverified. No combat was performed on this site.
Official gameplay footage
The official gameplay video shows exploration, CRTV use and encounters in Shorefront. YouTube requires sign-in and age verification for this video. It is a developer demonstration, not a complete solution for every step of this guide.
Related Articles
Did this guide help you?
JavaScript is needed for these buttons. You can still send a correction using the link below.
Send a correction or missing detail