
SILENT HILL: Townfall Part 6: Simon Walkthrough — Route & Checkpoints
Part 6 (Simon) route: the FIX THIS alarm chain, Remote Systems sequence, clamp release and the final boss — verified checkpoints, scope stated on the page.
- Location:
- CEG HQ – Different and SWDP – Different
- Part:
- Simon
- Chapter:
- Part 6 — Chapters 14-17
This page reveals story details. Show spoiler content? Show spoilers
What is the scope of this page?
This is a checkpoint route, not a hand-holding prose walkthrough: every chapter milestone, key item and puzzle below is verified against full reads of PowerPyx’s all-puzzle walkthrough and trophy roadmap (2026-09-24), and each puzzle links to its own dedicated page. If a step is not listed, it is not a verified checkpoint — the page will not pretend completeness it cannot cite.
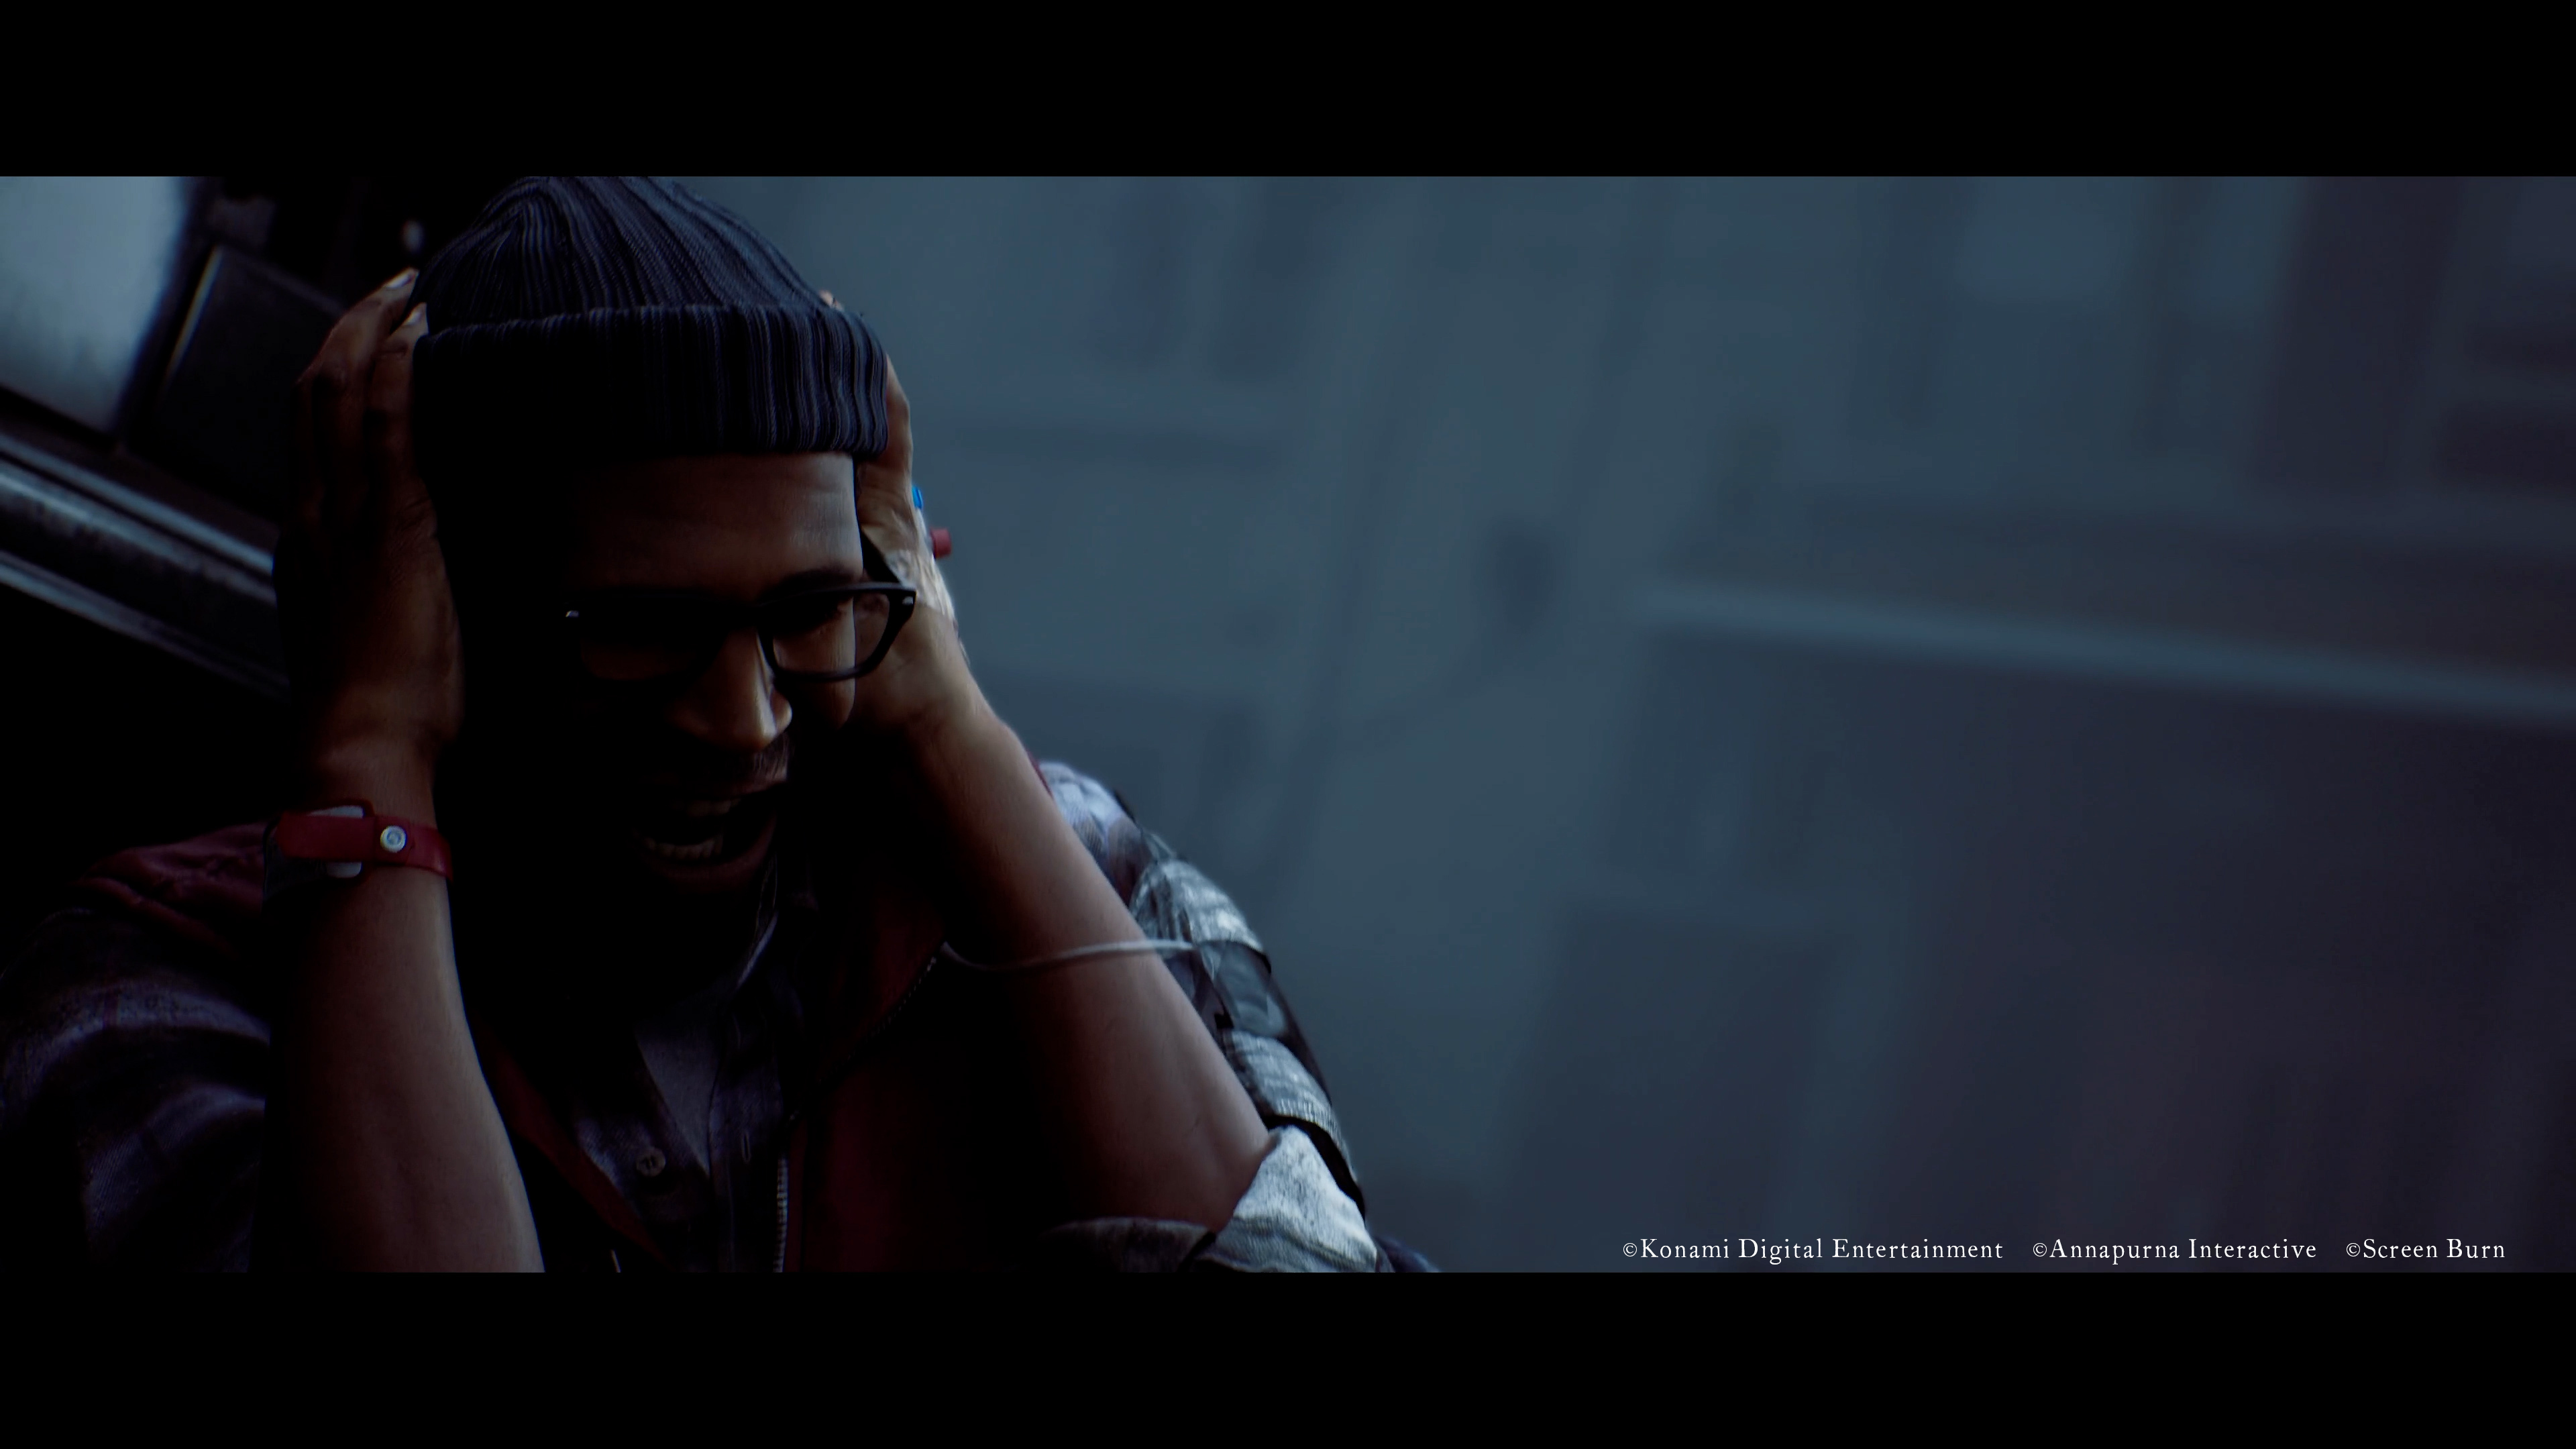
A story image from the official cast-reveal release. No ending is inferred from this frame.
Official promotional screenshot · Published
© Konami Digital Entertainment / Annapurna Interactive / Screen Burn
Watch Part 6 by chapter
PowerPyx’s video begins this Part at 1:28:37. The chapter links follow the creator’s markers through SWDP, Eraser and Returning. This is a main-story speedrun, so keep the collectible checklist below open for items the runner skips. The video includes the final encounter and ending.
Chapter 14 — Fix This (CEG HQ – Different)
- Enter the main hall; the Reference Sheet clue is on a desk to the right (row 78 of the documents checklist).
- Ride the elevator to the second floor: the Controller Key is in a box on the console left of the red clamp wheel.
- Ground floor, alarm panel beside the clamp wheel: unlock the keyhole with the Controller Key, enter A5D7 (from the Reference Sheet), then E3E3 on the right panel.
- Rotate the middle tower with the crank on each of the four floors so the red pipe runs unbroken to the top (floor 1: twice; floor 2: once left; floors 3-4: twice).
- Back at ground level: Gas Flow → Flow Test (all lights green) → IGNITE.
The full alarm chain has its own page: FIX THIS puzzle.
Chapter 15 — Trying Again (SWDP – Different)
- Restore power first: take the stairs on the right down to the lower floor, turn left into the small generator room, and pull the red handle — that powers the elevator and the rest of the level. Note: starting the generator spawns a large unkillable monster (the Flare Gun can stun it for the run upstairs — per AllThings.How’s control-room walkthrough).
- Grab the SWDP map on entry; the JOE Key is on a corner table in the computer room — it opens the JOE door in the southwest corner.
- Squeeze through the wall gap for the Access Card (a document and a photo share this spot).
- Use the Access Card on the control room door — the shutter by the clamps, reached via the stairs beside them; the card reader works once power is restored.
- Begin the Remote Systems console: Valve B → Filter A → AUX locker 0825 for the AUX Key. Camera IDs and button coordinates are on the Remote Systems puzzle page.
- In the AUX Room, take the AUX Disk from the cabinet and read Auxiliary Lines on its computer. Set the three switch groups, return to the console, then Flush Aux Line B → Stop Regulator → unlock the Valve F door.
- Turn Valve F downstairs by hand, collect the Clamp Release Procedure from the control-room printer, then configure the 920CEG panel — the full switch configuration is on the clamp release puzzle page.
- Interact with the giant valve below the clamps to end the chapter — this is the Can’t Change Things story trophy point.
Chapter 16 — Eraser
Return through the Room 204 transition to Clara Woods – Different for The Weight confrontation. Completing the fight awards Eraser. The final boss guide explains the three damage-and-removal cycles, with inspected video checkpoints and a PS5 ordinary-weapon recording. Follow the close-range interaction when the boss staggers; a flashback between cycles is not the end of the fight. Difficulty, exact shot counts and a complete move-timing table remain unmeasured.
Chapter 17 — Returning
Continue into St. Amelia Shorefront after the fight. Before going up from the beach, inspect the overalls past the beach stairs for the Crew Patch — the last document in the Part 6 collection route. Finish the return sequence to complete the playthrough. Do not stop the collection run at the boss or call the finale complete while this pickup remains.
Completion and evidence check
Part 6 contains 10 documents, 3 CRTV signals, 1 postcard and 2 resource containers. The collectible hub links to each family at the correct Part. NG+ special endings can branch away from the standard finale; follow the ending-specific route before expecting all standard-return pickups on that branch.
The chapter route is source-checked, mainly against PowerPyx plus the AllThings.How Control Room route. The two PowerPyx guides are one source chain. The Remote Systems page preserves the published numeric conflict and teaches the console inputs in context. No self-played combat or timed run is claimed. Make manual saves before irreversible transitions unless your chosen trophy forbids them.
Collectible progress — Part 6
Track this Part without leaving the walkthrough. These grouped lists share saved ticks with the full collectible guides; they are not a claimed shortest route.
Documents & clues · 10 items
Clear the ticks in this list? Other lists and Parts outside this view are kept.
Locations are available below. Enable JavaScript to use the manual progress tracker.
No items match this view.
Manual notes only. This does not read a game save, sync with Steam or PlayStation, or verify a trophy. Saving is optional and stays in this browser.
Open the full collectible guideCRTV signals · 3 items
Clear the ticks in this list? Other lists and Parts outside this view are kept.
Locations are available below. Enable JavaScript to use the manual progress tracker.
No items match this view.
Manual notes only. This does not read a game save, sync with Steam or PlayStation, or verify a trophy. Saving is optional and stays in this browser.
Open the full collectible guideStrange postcards · 1 item
Clear the ticks in this list? Other lists and Parts outside this view are kept.
Locations are available below. Enable JavaScript to use the manual progress tracker.
No items match this view.
Manual notes only. This does not read a game save, sync with Steam or PlayStation, or verify a trophy. Saving is optional and stays in this browser.
Open the full collectible guideResource containers · 2 items
Clear the ticks in this list? Other lists and Parts outside this view are kept.
Locations are available below. Enable JavaScript to use the manual progress tracker.
No items match this view.
Manual notes only. This does not read a game save, sync with Steam or PlayStation, or verify a trophy. Saving is optional and stays in this browser.
Open the full collectible guideRelated Articles
puzzle Verified
SILENT HILL: Townfall FIX THIS Puzzle — Alarm & Pipe Solution
CEG HQ — Different, ground floor control area
puzzle Source-reviewed
SILENT HILL: Townfall Remote Systems — CCTV IDs & Console Order
SWDP – Different — control room console
puzzle Source-reviewed
SILENT HILL: Townfall Clamp Release Procedure Solution
SWDP – Different — Control Room
Did this guide help you?
JavaScript is needed for these buttons. You can still send a correction using the link below.
Send a correction or missing detail