
SILENT HILL: Townfall Locations & Area Guide
Find Townfall answers by area: Shorefront, Medical Centre, Clara Woods, CEG HQ and SWDP, with routes, keys, puzzles and part-specific collectible links.
Choose a route map or an external interactive map
Our diagrams show required-item connections, with equivalent written steps in each linked guide. External maps are maintained by Gamer Guides and can reveal collectibles, later areas and puzzle answers: expect spoilers. Their account, tracking and paid-feature rules apply on the external site.
| Area | Our route and written steps | External interactive map |
|---|---|---|
| Shorefront, Parts 1–2 | Arrival: houses to clinic; Zoe route | Gamer Guides: Shorefront |
| Medical Centre, Part 3 | Medicines / storage; west wards; east wards | Gamer Guides: Medical Centre |
| Clara Woods, Part 4 | Written gate and locker route | Gamer Guides: Clara Woods |
| CEG Tower, Part 5 | Floor, key and elevator route | Gamer Guides: CEG Tower |
| SWDP – Different, Part 6 | Written Control Room access route | Gamer Guides: SWDP – Different |
External destinations were checked on 25 September 2026. Select the correct character, floor or “Different” layer there before following a marker. These links do not import their map art or marker database into Townfall Answers. View all five of our route diagrams.
Use the name on your map, then check the chapter
“Different” identifies an altered story state, not a second interchangeable entrance to the ordinary building. Likewise, the hotel date dial, the Room 204 key door and the NG+ symbol door solve different problems. If an answer looks right but the object looks wrong, check its Part before entering it.
This is an area and object index, not an interactive map. It provides no coordinates or exhaustive door and hiding-place survey. Collectible links open the existing five checklists filtered to your Part; the 100% route explains how to work through them without copying the entire 138-item list here.
| Map / area name | Story route | Jump to answers |
|---|---|---|
| Shorefront District South / North | Parts 1-2 | Shorefront |
| St. Amelia Medical Centre / Medical Center | Part 3 | Medical Centre |
| Clara Woods; South, North and Upper Brae | Part 4 | Clara Woods |
| CEG HQ / CEG Tower | Part 4 access, Part 5 tower | CEG HQ |
| CEG HQ – Different | Part 6, Chapter 14 | Altered CEG |
| SWDP – Different | Part 6, Chapter 15 | SWDP |
| Clara Woods – Different / returning Shorefront | Part 6, Chapters 16-17 | Final return |
Which early locked door am I looking at?
Match the area and object before using a value. These are frequently confused story locks from the linked answer pages, not every locked door in the game. The key-item index covers item-gated routes.
| Area / story state | Lock or interaction | Answer | Before it works |
|---|---|---|---|
| Altered hotel, Part 1 | Three-wheel date dial | 18 · January · 1996 | Read the TV and hotel-menu clues; collect the Room 204 Key beyond it |
| Shorefront Family Clinic, Part 1 | Reception keypad | 2896 | Read the note in Zoe Ellis’s office first |
| Shorefront Pharmacy, Part 1 | Back-office blue locker | 6539 | Use the Scalpel to enter, then tune the CRTV signal |
| Medical Centre, Part 3 | Surgery-area door | 7103 | Receive the pager number during the monitoring-room sequence |
| Chapman Ward ground floor, Part 3 | Records Room keypad | 2605 | The Dailies clue is upstairs; the room holds a medicine pickup |
5353 is a phone call, not a door code: at Medical Centre Reception, call Hospital Storage 5353 to open the basement elevator route for the Intubation Kit. The earlier clinic’s 2896 will not open the Medical Centre Records Room.
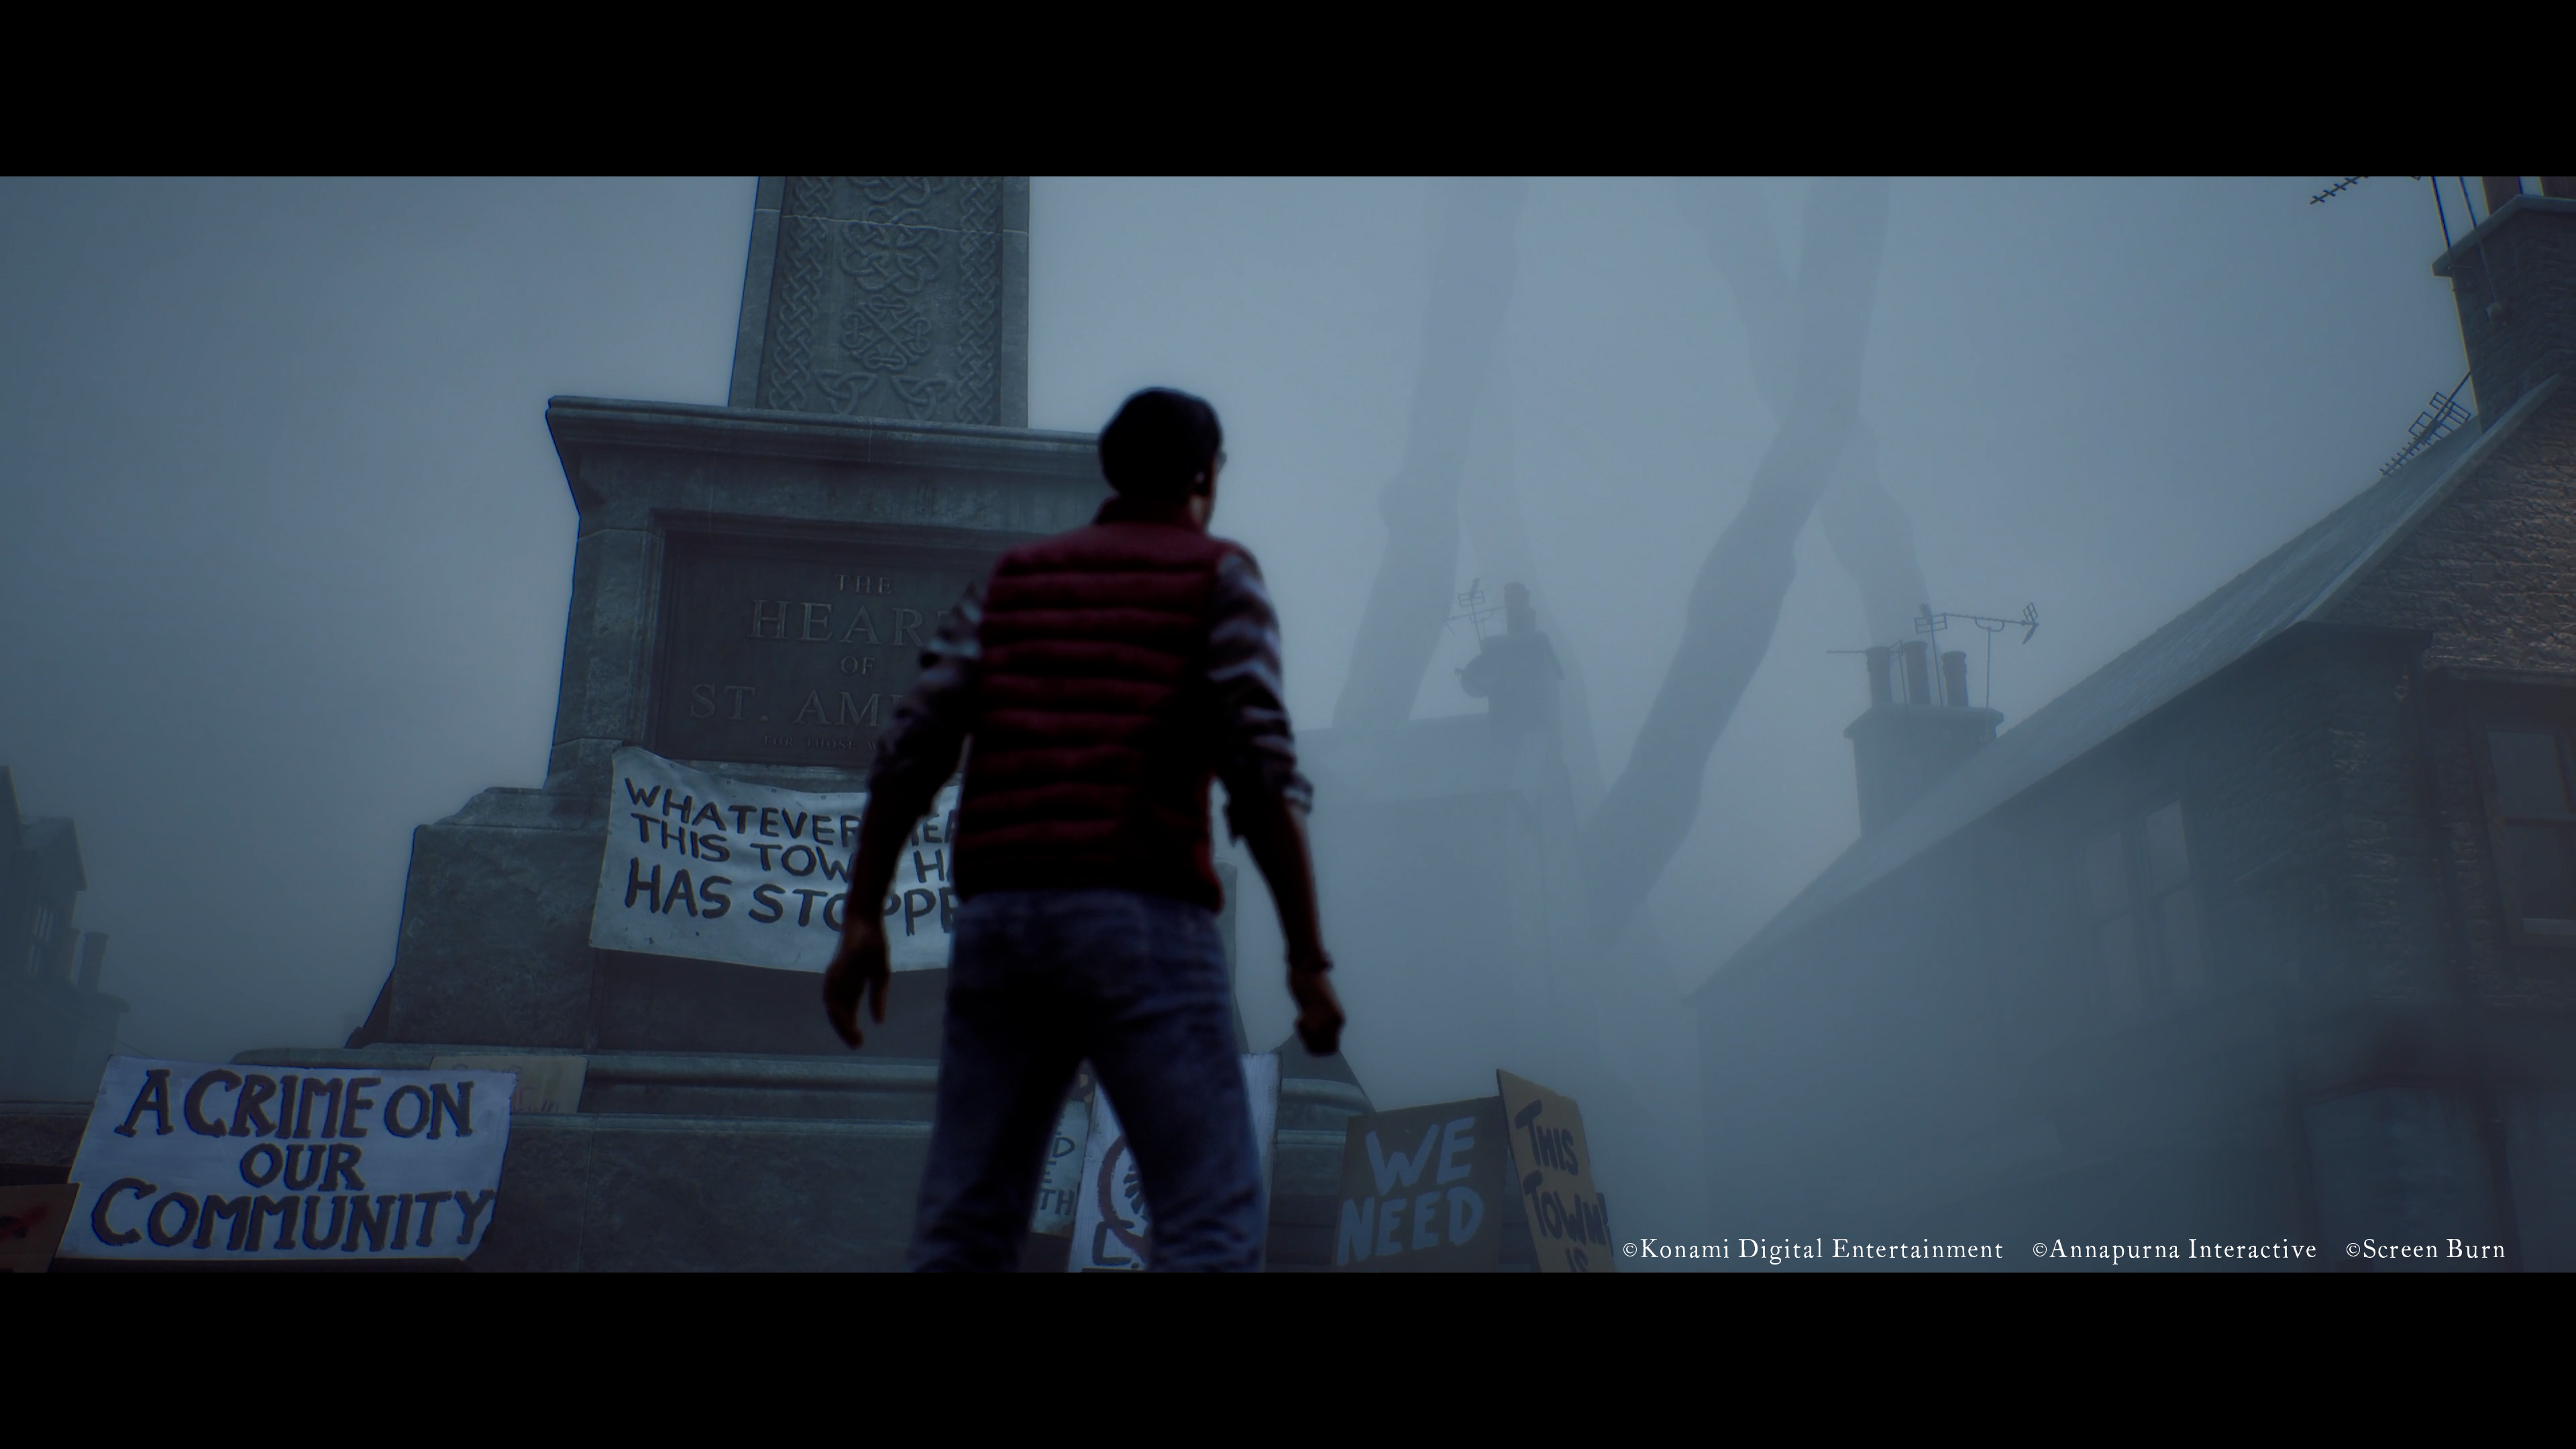
Official view of St. Amelia’s atmosphere; this image is not a navigable map.
Official promotional screenshot · Published
© Konami Digital Entertainment / Annapurna Interactive / Screen Burn
Shorefront District South and North — Parts 1–2
Start with Arrival, then Zoe. The two Parts revisit related streets in different character and story contexts; finding an object earlier does not necessarily make a later interaction available.
| Place or object | Answer / required item | Optional planning |
|---|---|---|
| Hotel dial and Room 204 | Date dial, then Room 204 Key | Preserve the distinction from the later Sci-fi door |
| Zoe’s house and Peters Newsagent | Electricard / Prepaid Power Card, then organ box and Lanyard | Flashlight and batteries share the house route |
| Shorefront Family Clinic | Reception keypad, pharmacy locker, clinic scales | This clinic is not the later Medical Centre |
| Jess’s house / 21 Farrow Street | Arrival route: Back Door Key and Broken Stethoscope | Bring the stethoscope back to the scales |
| Community Gardens / Jane’s shed | 1993 padlock and Community Garden Key | Obituary document; later runs have separate ending tasks |
| Mr. Stewart’s house / Medical Centre exterior | Part 2 route: bathroom key, security phone and garage button | Zoe’s no-healing challenge |
| Town Square / Flemington Street | Chapter 6 transition: Pistol and Scalpel passage | Apartment lockbox and photo sweep on a collecting run |
Open Part 1 collectibles before leaving Arrival and Part 2 collectibles for the next sweep. NG+ players should also check the Axe and Pistol-3000 storage-unit distinctions; these are not ordinary first-run pickups.
St. Amelia Medical Centre — Part 3
Use The Patient walkthrough to keep the procedure in order. “Medical Center” and “Medical Centre” on this site refer to the same location.
- Surgery / imaging: door 7103 → X-Ray → Infusion.
- Records Room: 2605 keypad protects a medicine pickup; it is not the earlier clinic reception code.
- Basement storage: call Hospital Storage 5353 at Reception to unlock the elevator for the Intubation Kit; follow the procedure in the Part guide before expecting the altered ward.
- Medical Centre – Different: the blood-bag route covers S.W./D.P. doors, the ward keys and the final ORDELL confirmation.
- Room-and-floor maps: Chapter 7 medicines and storage, west wards S/W, and east wards D/P. The east route distinguishes Matthew’s elevator transfer from the player’s floor drop and marks both D05 and D10 exit valves. These are original connection maps, not scale geometry or an enemy-position survey.
- Collection / challenge: Part 3 checklist, especially pickups before leaving the altered ward. The no-healing trophy applies to Chapter 7 as well as Chapter 5.
Clara Woods and the Brae houses — Part 4
The Clara Woods route connects three branches back to one gate. A locker number, its barcode and its PIN are different values; use the relevant scanner and locker page.
| Place | Story dependency | Equipment / side objective |
|---|---|---|
| CEG Employee Lockers, Lost and Found | 772 → South Brae House Key | Locker 75 / 184 / Flare Gun |
| 5 South Brae and Atlas Computers | Disk Case Key, Fix-A-Disk!, MANUAL.EML and Locker 17 | Boltcutters open the onward gate; do not leave them behind |
| 6 North Brae | Poem safe 736 → Locker 204 / 971 | One Mechanical Part |
| Upper Brae | Tapes, Back Door Key and safe 129 → Locker 94 / 490 | Another Mechanical Part |
| Strange Gate | Assemble all three parts | Opens the CEG approach |
Before going inside, finish Part 4 collectibles. NG+ adds Dog coins and Sci-fi books to the planning, not to the first-run Mechanical Parts requirement.
CEG HQ / CEG Tower — Parts 4–5
Part 4 access: the security door, employee box and printed access card are one chain. That card is not Richard’s later Level 3/4 card or CEO card.
Part 5 tower: Richard’s route begins with the exterior generator. The 5F Boardroom sends you through 3F P.R./Finance and 4F Media for the Projector Bulb and Lens; Finance 2709 is part of that circuit. The Maintenance Key then opens the route to the Mezzanine slides. Complete the slide puzzle before using the CEO elevator.
The optional supply-room table separates PR Records, Operations Storage and Administration Storage from main-story gates. The Shotgun and Widow reference belong to this Part. Sweep Part 5 collectibles before going up.
CEG HQ – Different — Part 6, Chapter 14
The FIX THIS alarm sequence uses the Reference Sheet, Controller Key, A5D7 / E3E3 panels and four floors of pipe rotations. It is not the ordinary CEG exterior generator or Boardroom projector. Follow Simon for the transition into SWDP.
SWDP – Different — Part 6, Chapter 15
Restore power, take the JOE Key, enter the JOE room and retrieve the Access Card through the gap. The Control Room access route then leads to Remote Systems, AUX locker 0825, the AUX Key and Disk, Auxiliary Lines and Clamp Release. The key-item index keeps these objects together.
This is a useful point to read The Weight survival guide. For a Sci-fi run, consult the ending page before passing its reader; do not assume normal machine progression completes the special route for you.
Final return — Part 6, Chapters 16–17
Clara Woods – Different contains the final confrontation. Chapter 17 returns to Shorefront and still has the Crew Patch document. Keep the Part 6 collectibles open through that return, not just until the boss trophy. The endings hub explains the separate ending conditions; the area name alone does not determine a result.
Related Articles
Did this guide help you?
JavaScript is needed for these buttons. You can still send a correction using the link below.
Send a correction or missing detail