
SILENT HILL: Townfall Part 3: The Patient Walkthrough
Part 3 Medical Centre route: vitals, X-Rays, infusion, the required Intubation Kit, ward master keys and the blood-bag sequence, with collection checkpoints.
- Location:
- St. Amelia Medical Center
- Part:
- The Patient
- Chapter:
- Part 3 — Chapters 7-8: Zoe The Patient, Many Into One
This page reveals story details. Show spoiler content? Show spoilers
What does Part 3 cover?
Chapters 7–8 connect Zoe’s medical procedure with the changed ward. Continue from Part 2. Knowing the answer to the next machine does not remove the need to collect its medicine, film or kit.
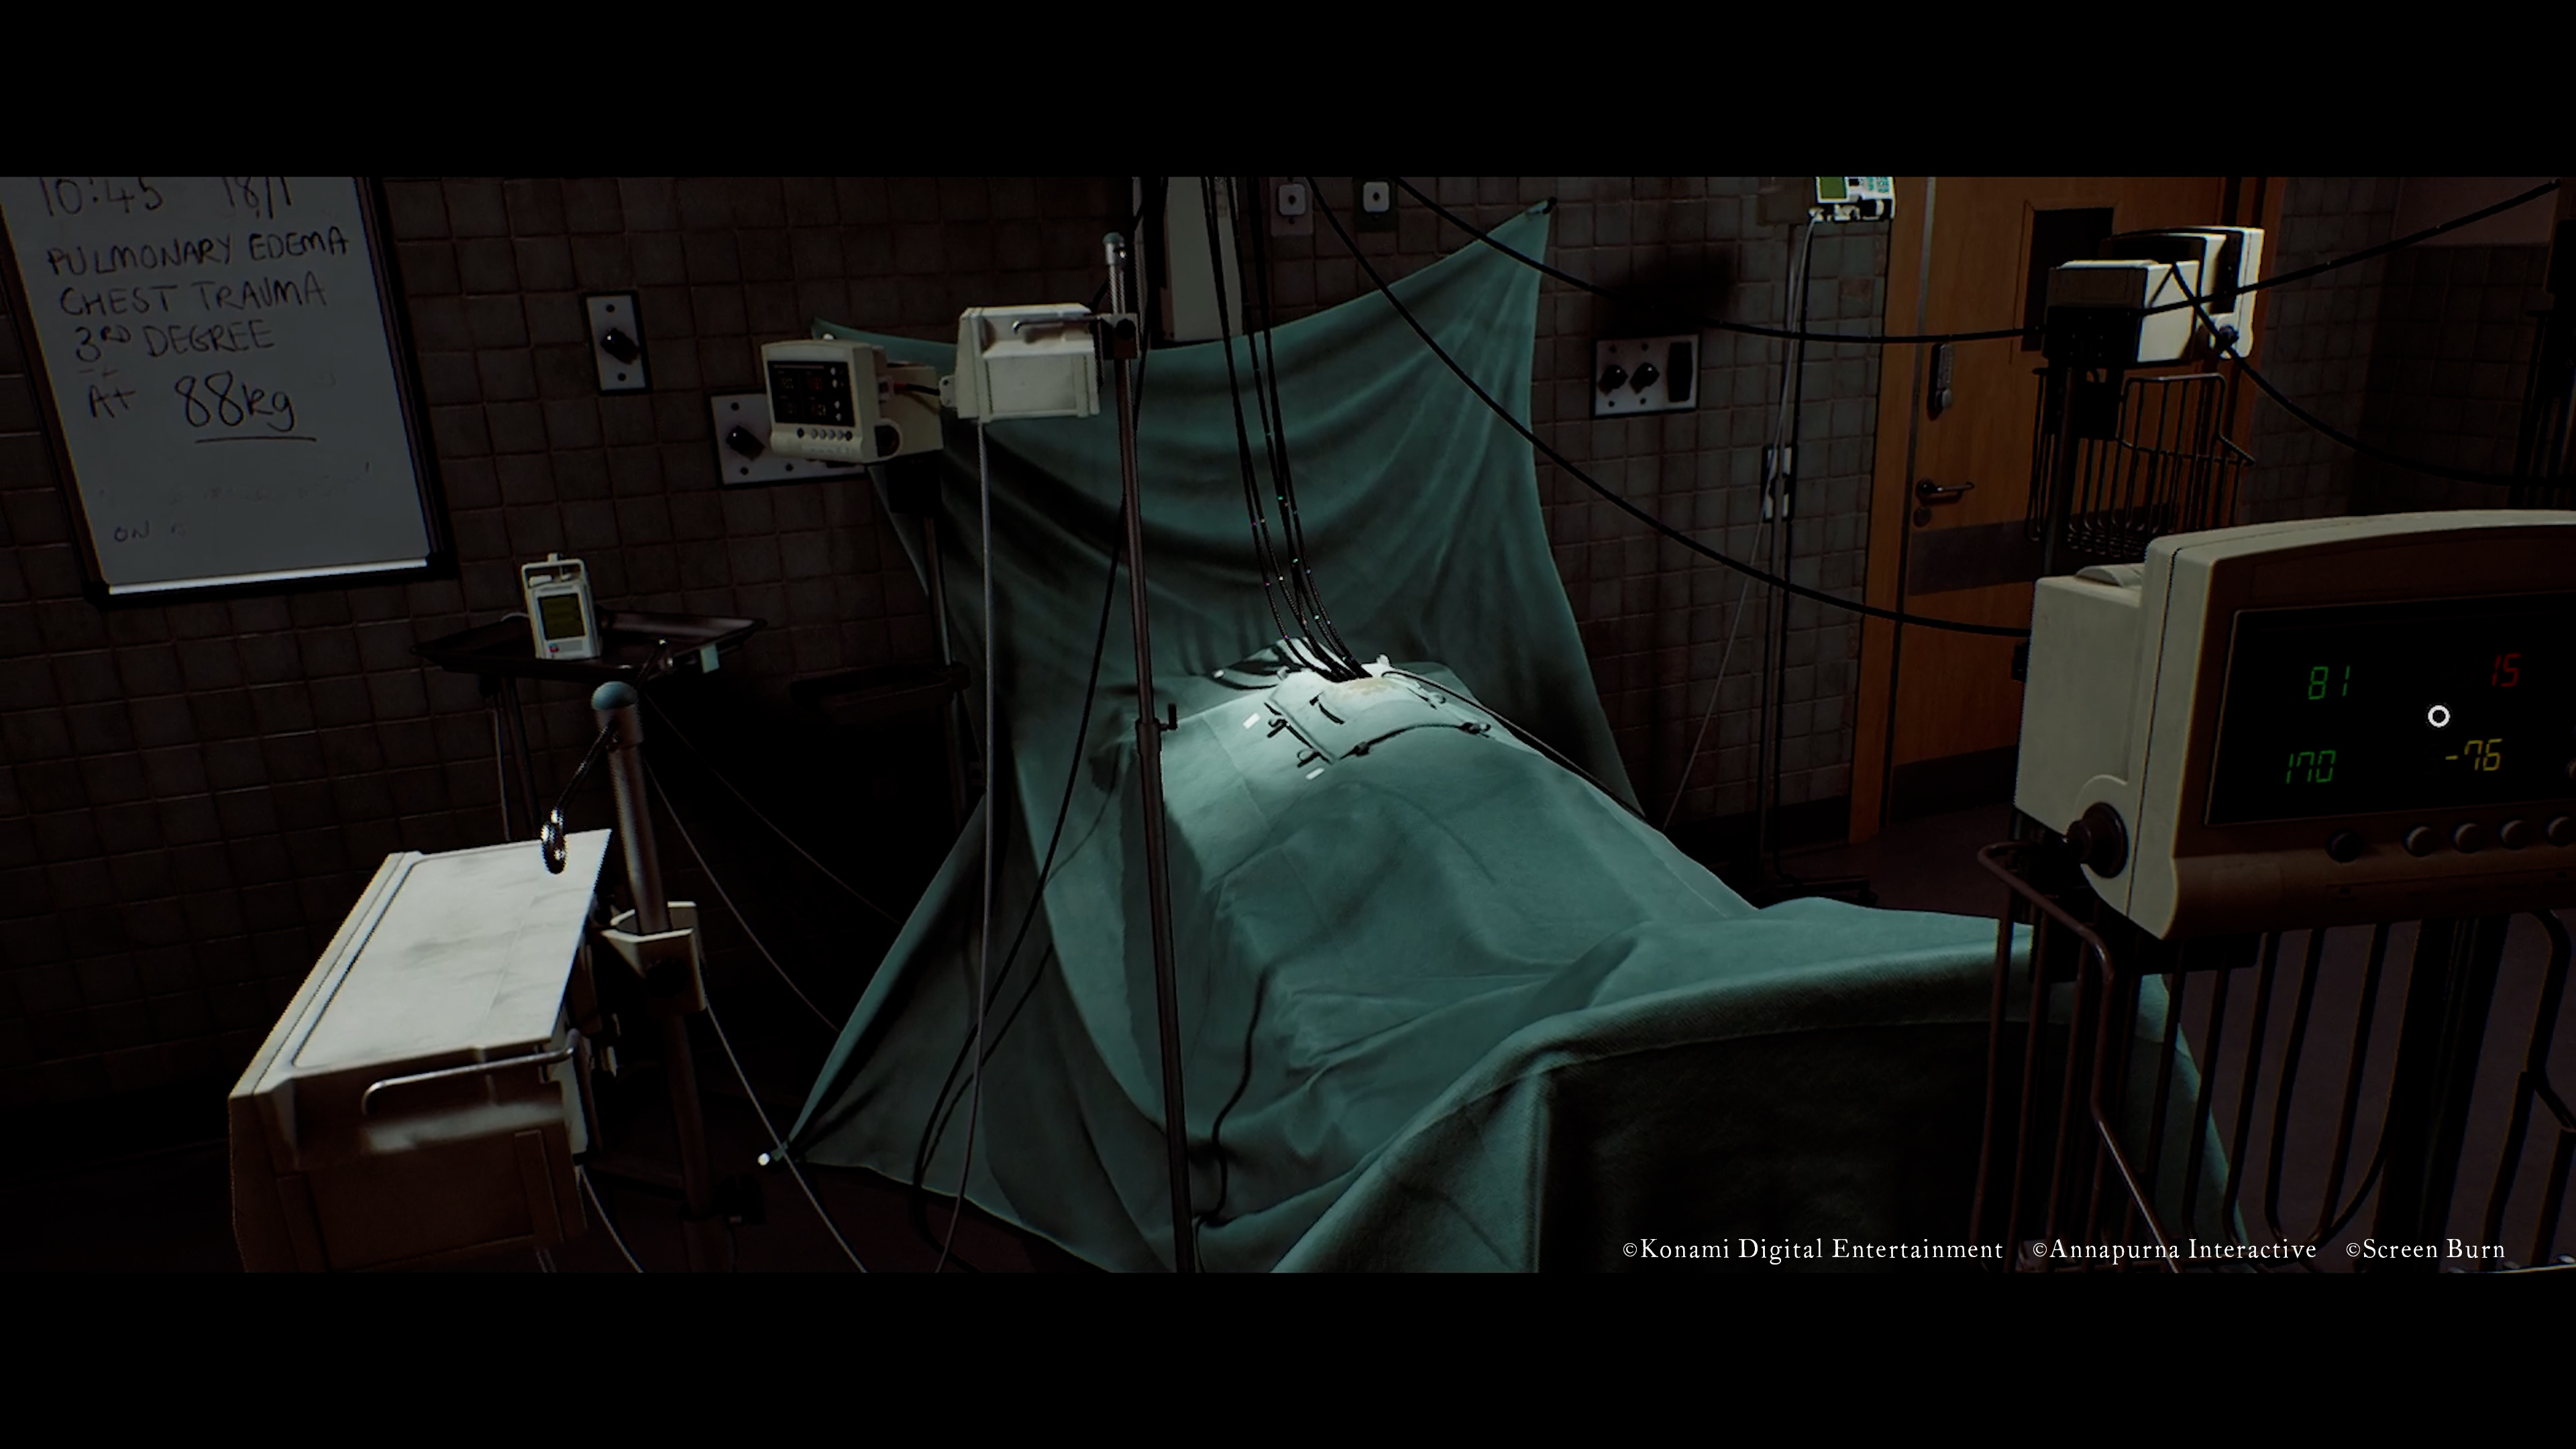
Official promotional view of the medical setting. Use the linked guide for puzzle inputs and progression.
Official promotional screenshot · Published
© Konami Digital Entertainment / Annapurna Interactive / Screen Burn
Check the treatment before starting
Match each medicine label to its rate, confirm every pump and only then start the bedside monitor. Read the clues before starting rather than using an active treatment to try different settings.
A community blueprint analysis reports that treatment mistakes can affect the main-ending score and that a wrong running pump setup can count more than once. This site has not reproduced that behavior or its timing. See the reported ending-score explanation for the source and limits (ending spoilers).
Chapter 7 — Zoe The Patient
- Vitals: answer from the bedside monitor. PowerPyx describes readings around BP 70/40, pulse 160, SpO2 80; use the closest displayed answer to your current monitor, since the readings fluctuate.
- Surgery access and X-Rays: the surgery door takes 7103. Align the camera and make the skull scan 3 / 7 / 1, then the chest scan 7 / 3 / 1.2. Collect and hang both films in surgery; the X-Ray guide covers alignment and controls.
- Medicines: collect Tensobromide from Victoria Ward G/F Pharmacy Store, Dextracyclate from Chapman Ward 1F Bay 6, and Hydroxalene from Chapman Ward G/F Records Room, 2605. Read the code clue in the Chapman 1F Office.
- Infusion: set the three rates to 8 / 15 / 7 respectively; ready each pump, then start at the bedside monitor. See Infusion if the sequence does not advance.
- Intubation Kit: call 5353 (Hospital Storage) from the telephone at Reception to unlock the opposite elevator. Ride to the basement Storage Room and squeeze through the gap between lockers to the kit. This is a phone number, not a door keypad code. Return to surgery. The procedure’s interactions are right → lower left → top. The intubation guide covers the on-screen feedback. This required step comes between infusion and the altered ward.
If pursuing Save It For The Patients, Chapter 7 is the second no-healing segment. The medicines used in the story procedure are not a reason to use a healing consumable on yourself.
Hospital route map: floors, medicines and storage
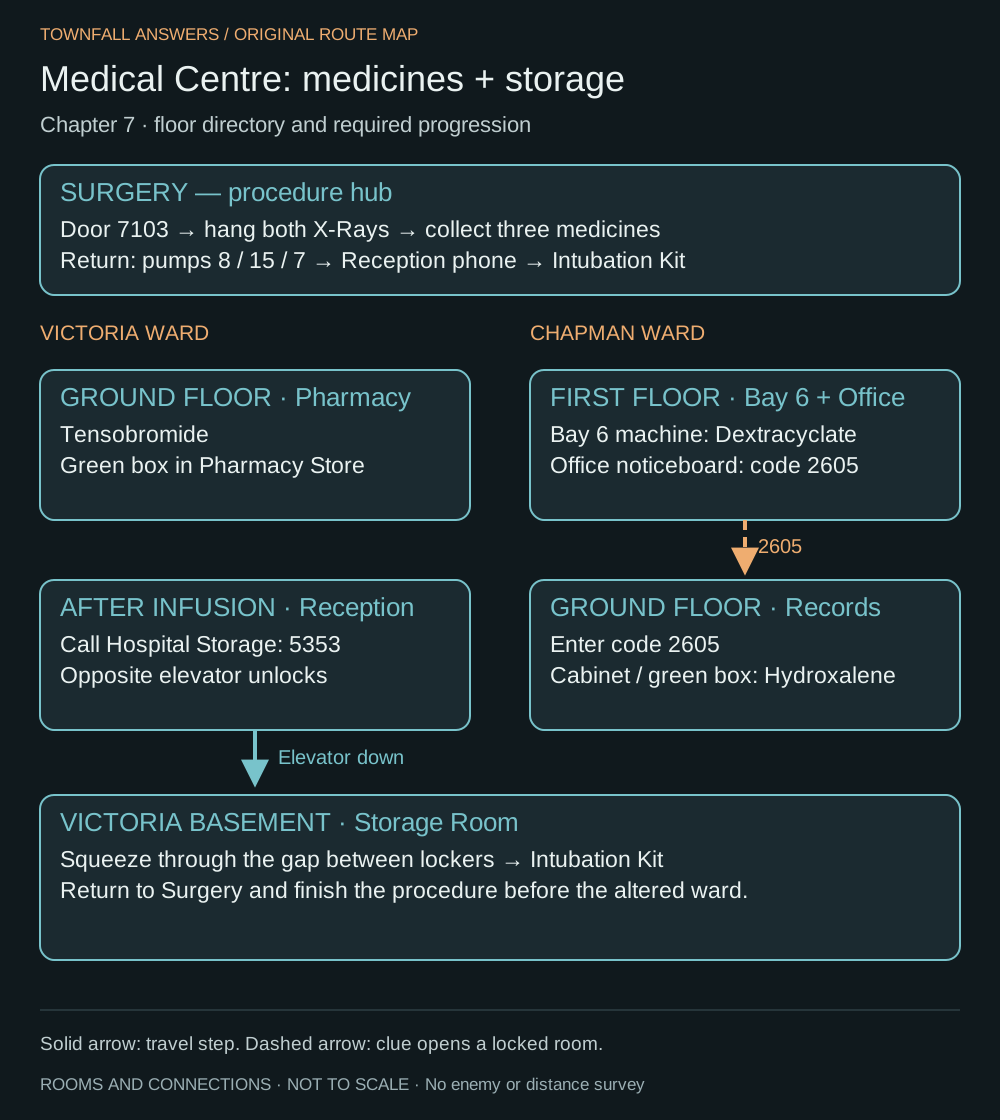
Chapter 7: floor directory and required route — not a scale floor plan
Original guide diagram — not an in-game screenshot. Evidence and detailed steps are listed in this guide.
Open full-size diagramThe diagram separates the two wards and their floors. The dashed line means the Office clue opens Records; it does not depict a direct doorway. Storage becomes available after the infusion and Reception call. Return to Surgery with the kit before expecting the altered hospital.
Chapter 8 — Many Into One
- After the vent, take Alan Duncan’s blood bag and use it at the S.W. door machine. Turn the switch to open the route.
- Get Sarah Watson’s bag in Ward S room 05. Collect the Ward W Master Key in room 04; use the room 13 ladder route to reach room 12 and Lesley Greer’s bag.
- Use Lesley’s bag at the D.P. door machine. Take the D03 wall tunnel into D02 and press the elevator button to send Matthew’s bag down. The D06 vent → D07 floor hole → P10 route reaches George McEwan’s bag and the Ward P Master Key.
- Unlock P03 and retrieve Matthew Clark’s bag from the elevator doors. When the gates close, return upstairs and turn both D05 and D10 valves to reopen the route, then take the ladder to the central area. See the east ward route map.
- At the wall, place Sarah Watson and Matthew Clark on the left, George McEwan on the right, then operate the switch.
- Route the compatible O−, O+, A− and A+ lines to the centre for T.F., H.M. and S.W., then confirm ORDELL. Follow the blood transfusion guide for the complete bag table; “O-type only” is not the correct instruction.
- Continue through the Room 204 exit sequence toward the next Part.
Collection and transition check
Part 3 collectibles contains 7 documents, 1 phone number, 1 CRTV signal, 3 postcards and 1 container. Finish the altered-ward sweep before leaving; there is no chapter-select cleanup. Keep separate manual saves if your trophy plan permits them.
Continue to Part 4: Clara Woods. These are source-checked checkpoints; they do not claim a self-played route or a complete map of enemy movements.
Collectible progress — Part 3
Track this Part without leaving the walkthrough. These grouped lists share saved ticks with the full collectible guides; they are not a claimed shortest route.
Documents & clues · 7 items
Clear the ticks in this list? Other lists and Parts outside this view are kept.
Locations are available below. Enable JavaScript to use the manual progress tracker.
No items match this view.
Manual notes only. This does not read a game save, sync with Steam or PlayStation, or verify a trophy. Saving is optional and stays in this browser.
Open the full collectible guideCRTV signals · 1 item
Clear the ticks in this list? Other lists and Parts outside this view are kept.
Locations are available below. Enable JavaScript to use the manual progress tracker.
No items match this view.
Manual notes only. This does not read a game save, sync with Steam or PlayStation, or verify a trophy. Saving is optional and stays in this browser.
Open the full collectible guideStrange postcards · 3 items
Clear the ticks in this list? Other lists and Parts outside this view are kept.
Locations are available below. Enable JavaScript to use the manual progress tracker.
No items match this view.
Manual notes only. This does not read a game save, sync with Steam or PlayStation, or verify a trophy. Saving is optional and stays in this browser.
Open the full collectible guideResource containers · 1 item
Clear the ticks in this list? Other lists and Parts outside this view are kept.
Locations are available below. Enable JavaScript to use the manual progress tracker.
No items match this view.
Manual notes only. This does not read a game save, sync with Steam or PlayStation, or verify a trophy. Saving is optional and stays in this browser.
Open the full collectible guideRelated Articles
puzzle Verified
SILENT HILL: Townfall X-Ray Puzzle — Skull & Chest Settings
St. Amelia Medical Center — X-Ray room
puzzle Verified
SILENT HILL: Townfall Infusion Puzzle — Medicine Locations & Pump Rates
St. Amelia Medical Center — Surgery room infusion pumps
code Verified
SILENT HILL: Townfall Records Room Code (2605) & Location
St. Amelia Medical Center — Chapman Ward, Ground Floor (Records Room)
Did this guide help you?
JavaScript is needed for these buttons. You can still send a correction using the link below.
Send a correction or missing detail